This article applies to:
- MailMarshal 11.1 and above
- ARC (Authenticated Received Chain) functionality
Question:
- What are the steps required to use ARC with MailMarshal?
Background:
ARC (Authenticated Received Chain) is a way of preserving authentication results (SPF, DKIM and DMARC) as an email message passes through multiple servers. Each server in the chain adds a new ARC-Seal header that contains the results of validation on that server.
ARC-Seal processing has two parts:
- Evaluation of the existing ARC chain for received messages.
- This can be configured even if you do not choose to extend the chain.
- Extending the chain so that other servers receiving the message can evaluate it.
Procedure:
The procedure below assumes familiarity with MailMarshal administration, DNS administration, and use of a tool such as OpenSSL to generate keys.
Evaluating the ARC chain:
In the MailMarshal Management Console Advanced Settings, add this setting:
- Name: Receiver.EnableARCSeal
- Type: Boolean
- Value: True
Extending the ARC chain:
- Choose the selector and private key name you will use for your ARC key. The example below uses these values:
- Selector: selector1
- Private key: arcseal_private.pem
- Generate a private and public key for the selector.
- Note the file name is composed of {Selector}_{Private key}
- For example using OpenSSL you can use the following commands:
openssl genrsa -out selector1_arcseal_private.pem 2048
openssl rsa -in .\selector1_arcseal_private -pubout -out selector1_public.txt
- Create the appropriate DNS text record using the public key text. This record will typically be created for your main domain.
- The record is an additional DKIM selector record.
- An example record name for the example.com domain is: selector1._domainkey.example.com
- The record text must begin with v=DKIM1;p=
- Before you enable ARC-Seal processing, ensure the record has propagated.
- Copy the private key file (pem format) to the Config folder on the MailMarshal Array Manager. It will be copied automatically to all processing servers.
- Add the following Advanced Settings in the MailMarshal Management Console:
- Engine.ArcAuthServId
- Type: String
- Value: The MX name of your server, for example: mx.example.com
- Engine.ArcSigningDomain
- Type: String
- Value: The primary email domain for your organization, for example: example.com
- Engine.ArcSelector
- Type: String
- Value: The selector you chose in step 1, such as selector1
- Engine.ArcPrivateKey
- Type: String
- Value: The private key name you chose in step 1, such as arcseal_private.pem
- Engine.ArcSealEnabled
- Type: Boolean
- Value: True
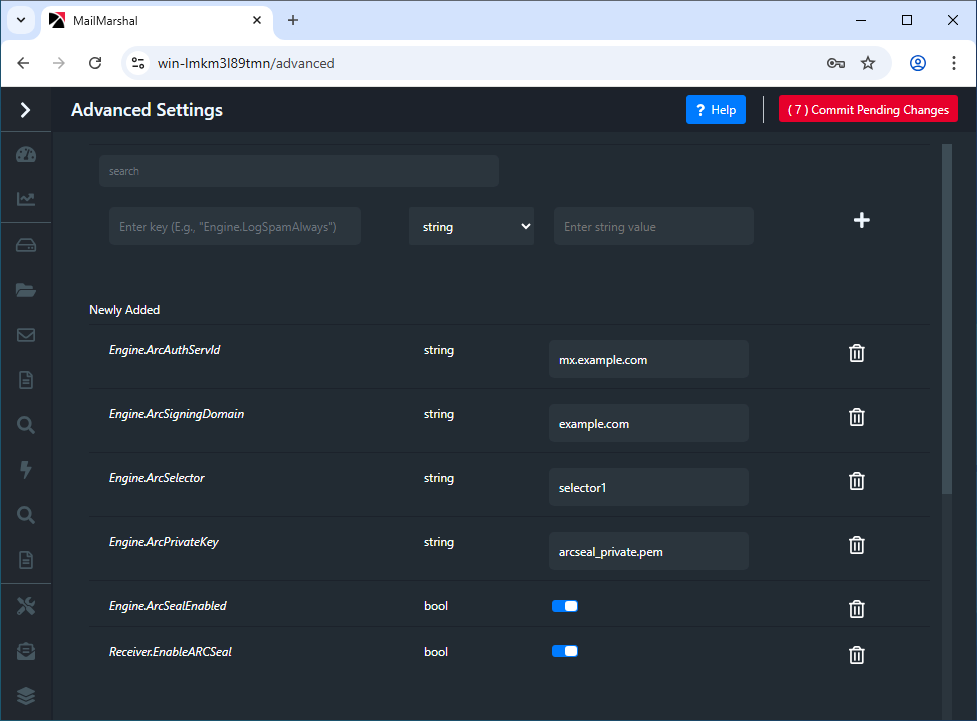
The new Advanced Settings will appear similar to the below:
Notes:
To rotate the key if required:
- Create and publish a new key with a new selector (steps 1-4 above). Use the same private key name.
- When the key is published and DNS is verified, update the value of Engine.ArcSelector to the new selector value.