Question:
How can I build the Bootable Media Creator, which is used to update the IBM firmware and run hardware diagnostics on Secure Web Gateway (SWG) appliances?
Answer:
Sometimes it is necessary to upgrade firmware versions or to collect specific logs from IBM-based SWG appliances (including blades). The instructions below describe the process of creating the Bootable Media Creator that is used in Firmware upgrades and DSA log retrieval from IBM appliances.
Before beginning the procedure, please use the link below to download the Bootable Media Creator tool.
http://www.ibm.com/systems/support/supportsite.wss/docdisplay?brandind=5000008&lndocid=MIGR-5079823
Once the download is complete, double click the utility in order to launch it. The steps below are a screen-by-screen walkthrough of the utility.
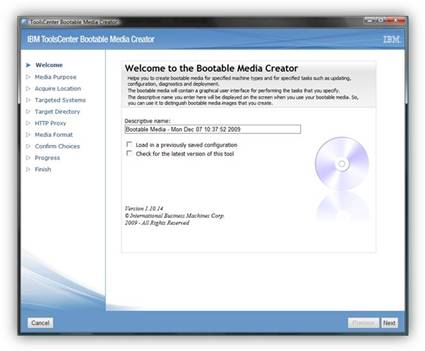
- Welcome - There is no required text for the descriptive name on the Welcome screen; you may choose any name you like or leave the default. Click Next.
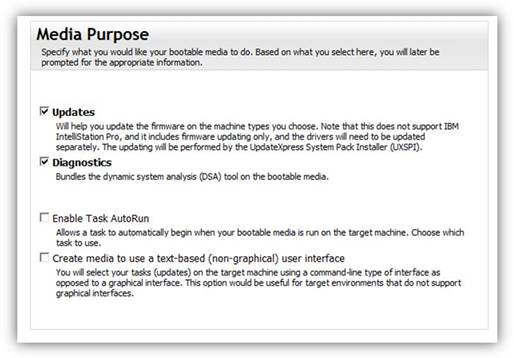
- Media Purpose - select Upgrades and Diagnostics. The rest should be unchecked. Click Next.
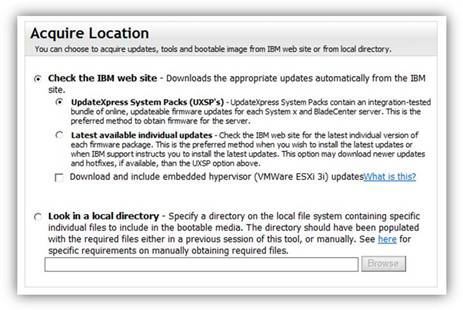
- Acquire Location - use the Check the IBM web site with the UpdateXpress System Packs (UXSP’s) option. Click Next.
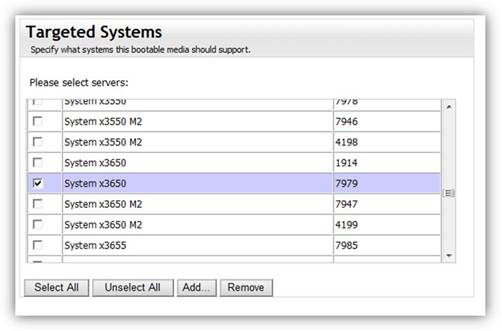
- Targeted Systems – Select the exact IBM machine type of the appliance. For example, the first generation NG-6000 is a System X3650 – 7979. Note that more than one type of system can be selected. It is recommended to only select the systems that require Firmware updates or DSA log retrieval in order to ensure that all of the content can fit on a single disc.
- HTTP Proxy - Select any Proxy information the software might need to use to download the proper updates. Proxy options are based on your current network settings; you may not need to use them. In that case, just select “Do not use proxy”. Click Next.
- Target Directory - This the location the downloaded files will be saved on the PC. Click Next.
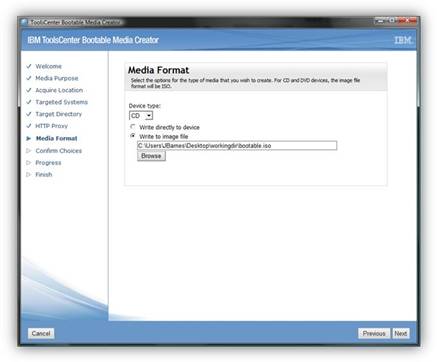
- Media Format – Select Device Type: CD/DVD and Write directly to Device. Select the Disk drive your recordable CD/DVD is in. (You may use the Write to Image File if your CD/DVD is not ready and wish to save the ISO file to the computer to burn at a later time.) Click Next.
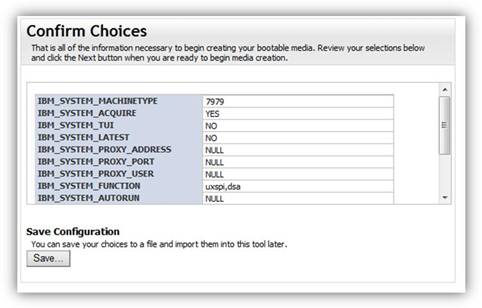
- Confirm Choices – Verify that the systems, directories, update type are correct and any additional settings needed to access the internet. (There is also an option at the bottom to save the current configuration. This can be used if you chose to stop and come back later or if you require using these settings again to create additional boot disks at a later time.) Click Next.
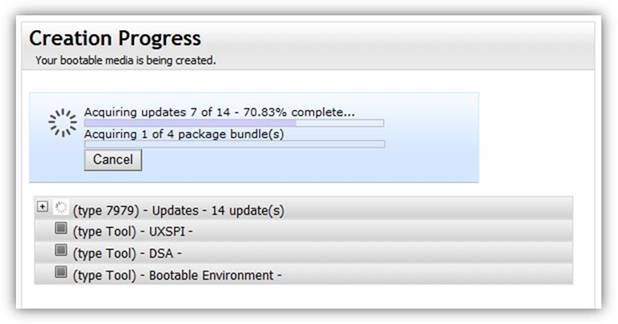
- Creation Process – The tool will now download and burn the CD/DVD (or create a Bootable .ISO image if Write to Image File was selected). Download times will vary based on how many systems were selected. Approximate time for one system is 20 minutes. Click Next.
- Burn the ISO image onto a CD or DVD if you did not chose to burn the disk in Step 7. Once the image has been burned onto a CD or DVD the disk should be ready to use for the IBM system.
Software Versions:
all